How to build a greenhouse

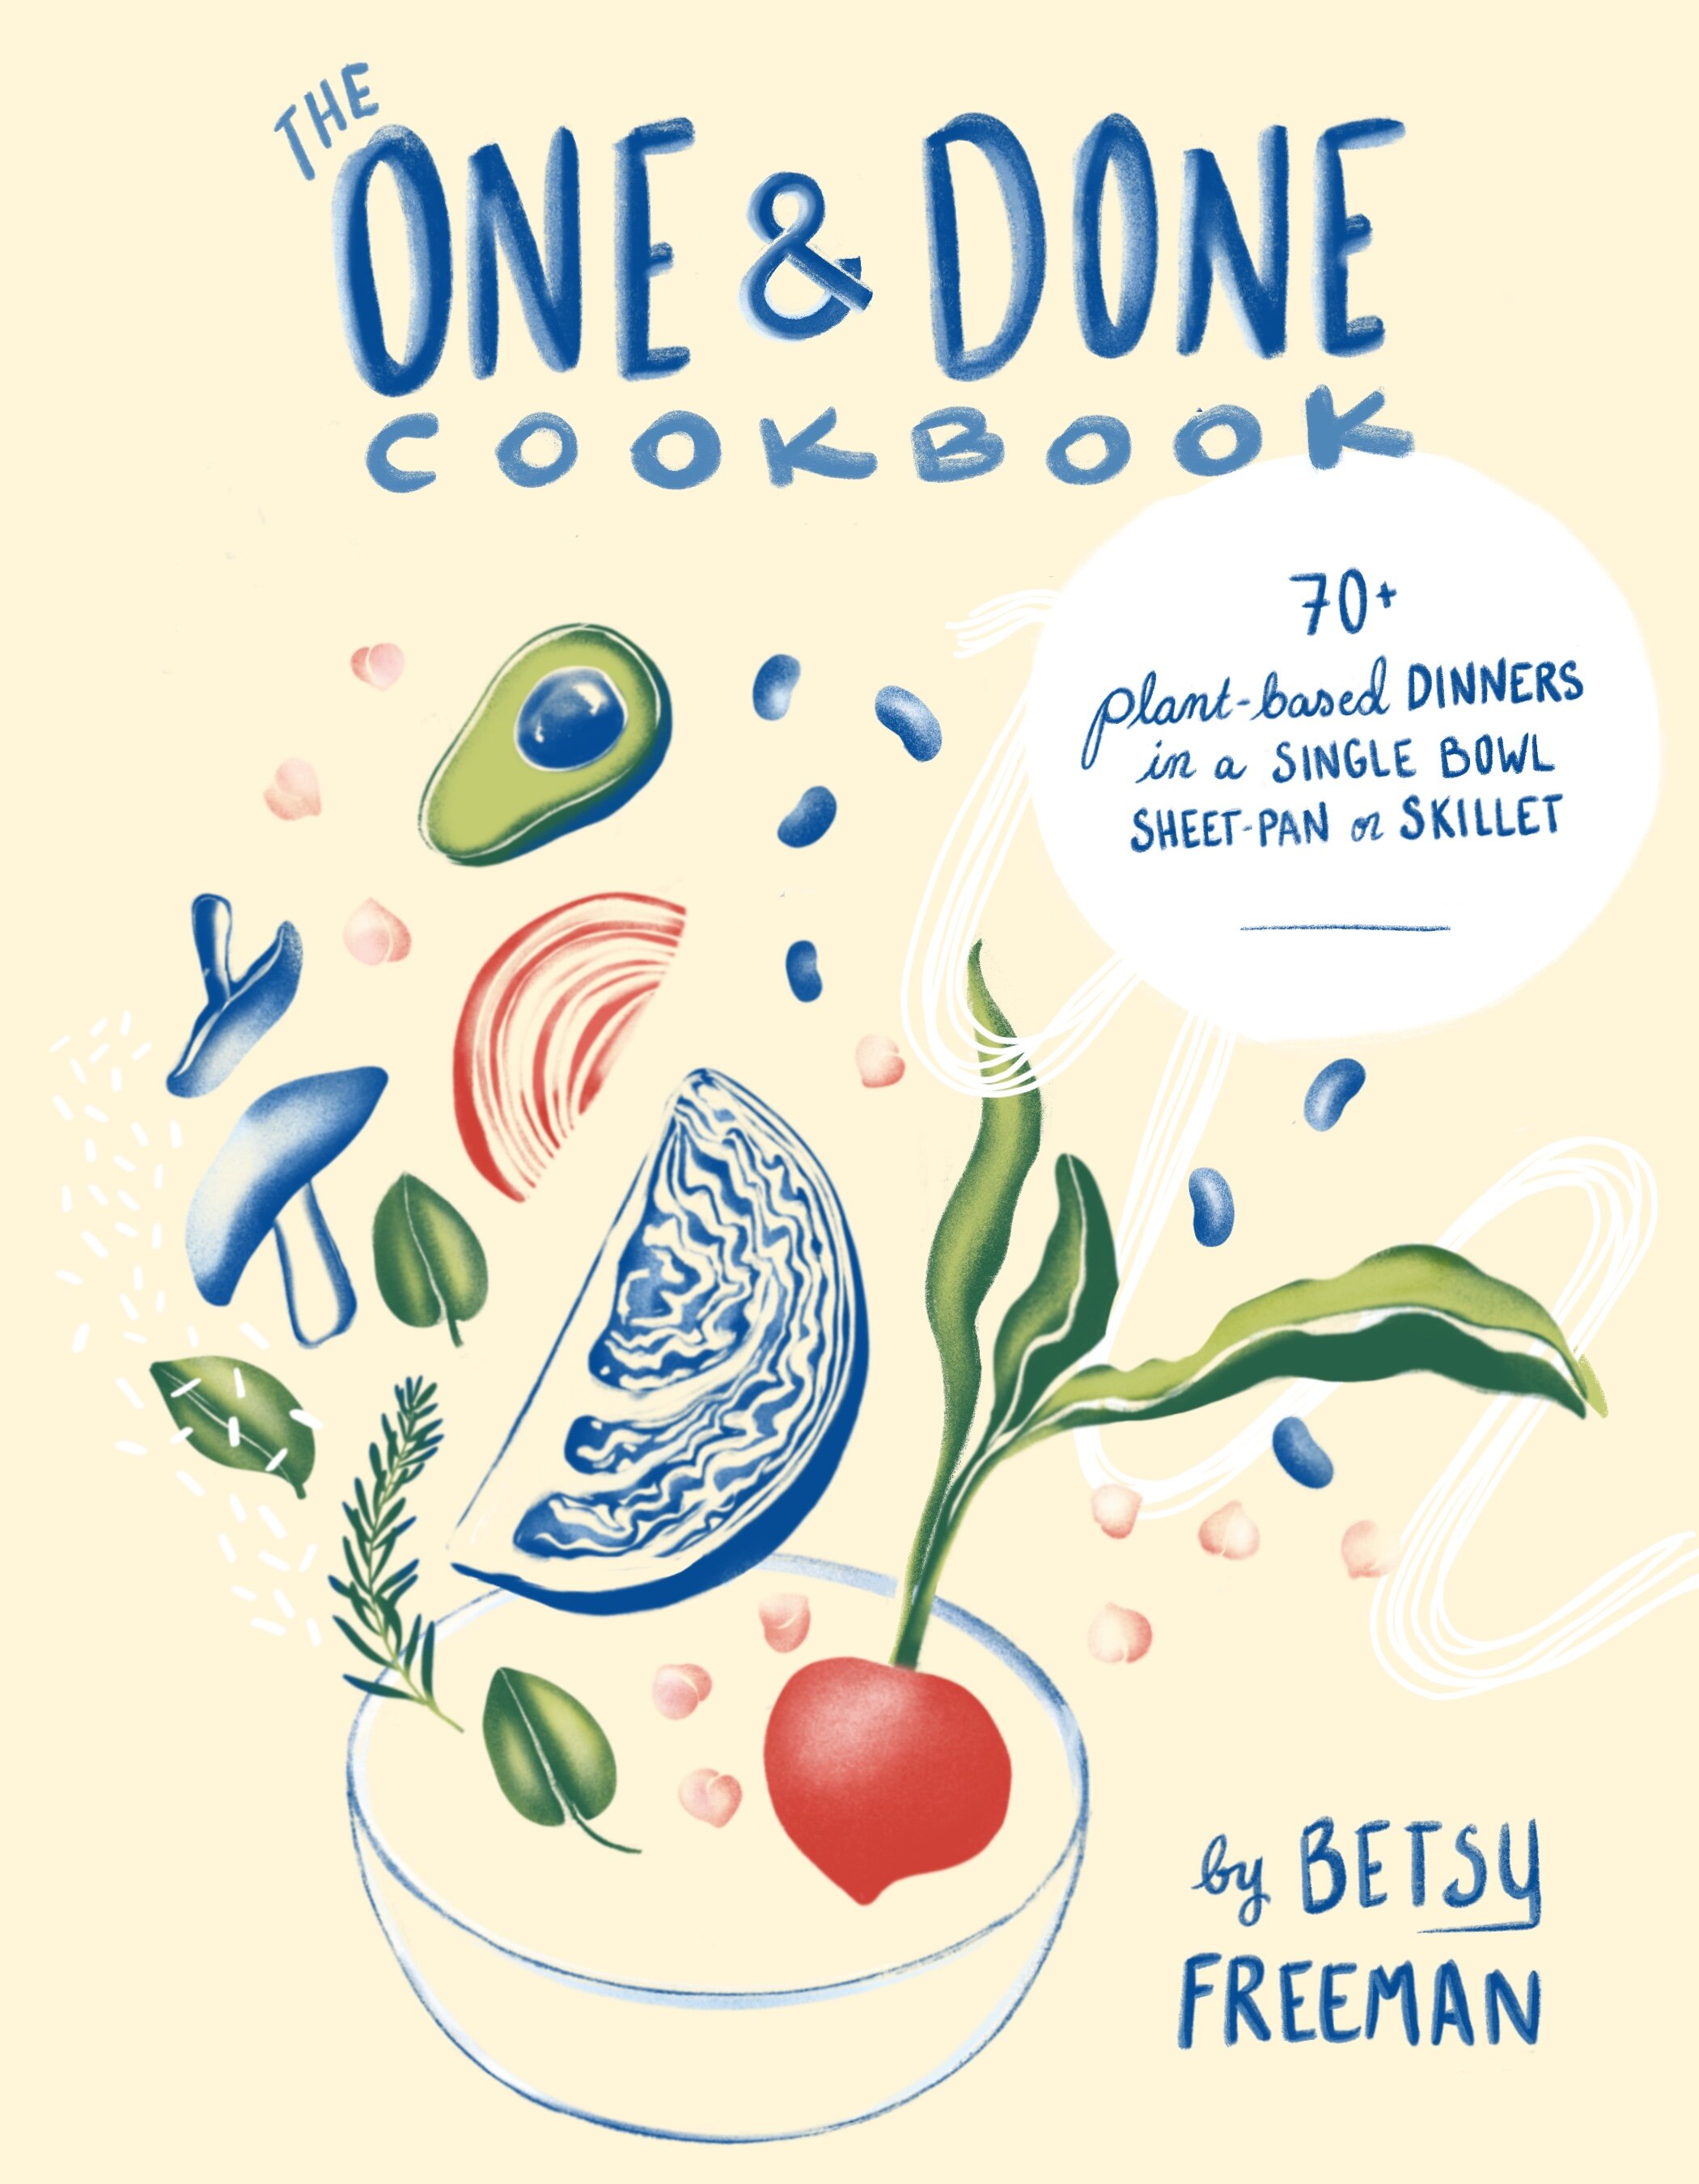
The author chose to create her greenhouse from scratch, but many greenhouse kits are available so you don’t have to. This greenhouse, with its rounded curves, is suitable for growing tomatoes and other vegetables indoors in a climate where it isn’t likely to snow. (Photo source: Pexels)
This past spring, I moved from southern Maine to a small town way up north. Here, I had the unique opportunity to explore the ins and outs of kelp farming in Frenchman Bay’s cold, clean waters.
Aquatic plants, like kelp, pull carbon from the atmosphere in the same way as terrestrial plants grown in soil. But kelp and other seaweed is more efficient—it doesn’t need potable water, arable land, or pesticides to grow. Kelp farms also work to improve local water quality and ocean habitat. In short, it’s a spectacular regenerative crop and I jumped at the opportunity to participate in this year’s growing season.
Before harvest kicked off, we built an ambitious drying greenhouse to handle the soon-to-be bumper crop. While patrolling the farm, we saw giant sugar kelp blades over 15 feet long! We gathered the right tools, read the instructions repeatedly, and hired a bobcat to level and grade the area before beginning the construction process.
“Greenhouses are a nice addition for any gardener looking to level up their growing game.”
I love the versatility of greenhouse structures, be it on a commercial scale or in your backyard. Greenhouses are commonly used to protect crops during cold weather or to keep pests away all summer. They’re also helpful for processing, seeding, and storing equipment.
Greenhouse kits give you an excellent running start on your project or you can, of course, make one from scratch. We decided to go with a 30 x 96 foot Rimol Gothic Greenhouse kit. We landed on this style because the tall ceiling was perfect for hanging long pieces of kelp. The straight 10-foot sides also meant more headroom for walking and the pitched roof protected the greenhouse from a pile-up of heavy snow.
It took about two months for my co-worker Nick and I to build it while juggling our other farm tasks. We did run into a glitch or two. As is typical for rocky New England soil, we struck a granite ledge while driving the support footings into the ground and had to drill through the rugged rock. And since we were on the Maine coast, sudden winds messed with our plan to quickly cover the greenhouse with plastic. But challenges aside, greenhouses are a nice addition for any gardener looking to level up their growing game.
Choose the right structure
Greenhouses come in all shapes, sizes, and materials, which can make any choice overwhelming.
The right shape. Allow your local weather to determine the shape of your structure. Here, in the snowy Northeast, I benefit from gabled or pitched roofs with narrowly spaced roof supports that quickly shed snow and support added weight. If you live in a warmer climate, you’ll be fine with a less expensive hoop or rounded greenhouse with wider gaps between roof supports.
The right size. Choose a size that suits what you’re using it for. Nurturing seedlings will require less space, for instance, than raising full grown vegetables.
The right materials. Look to your micro-climate for guidance. Rigid polycarbonate plastic panels do better in windy areas than soft polyethylene plastic films, which can become tattered at high wind speeds. Glass and fiberglass options are heavy and durable but come with a high price tag. If you're stuck, consider talking to a greenhouse manufacturer for guidance.
Once you’ve decided on the best shape, size, and material for your greenhouse, it’s time to get building.
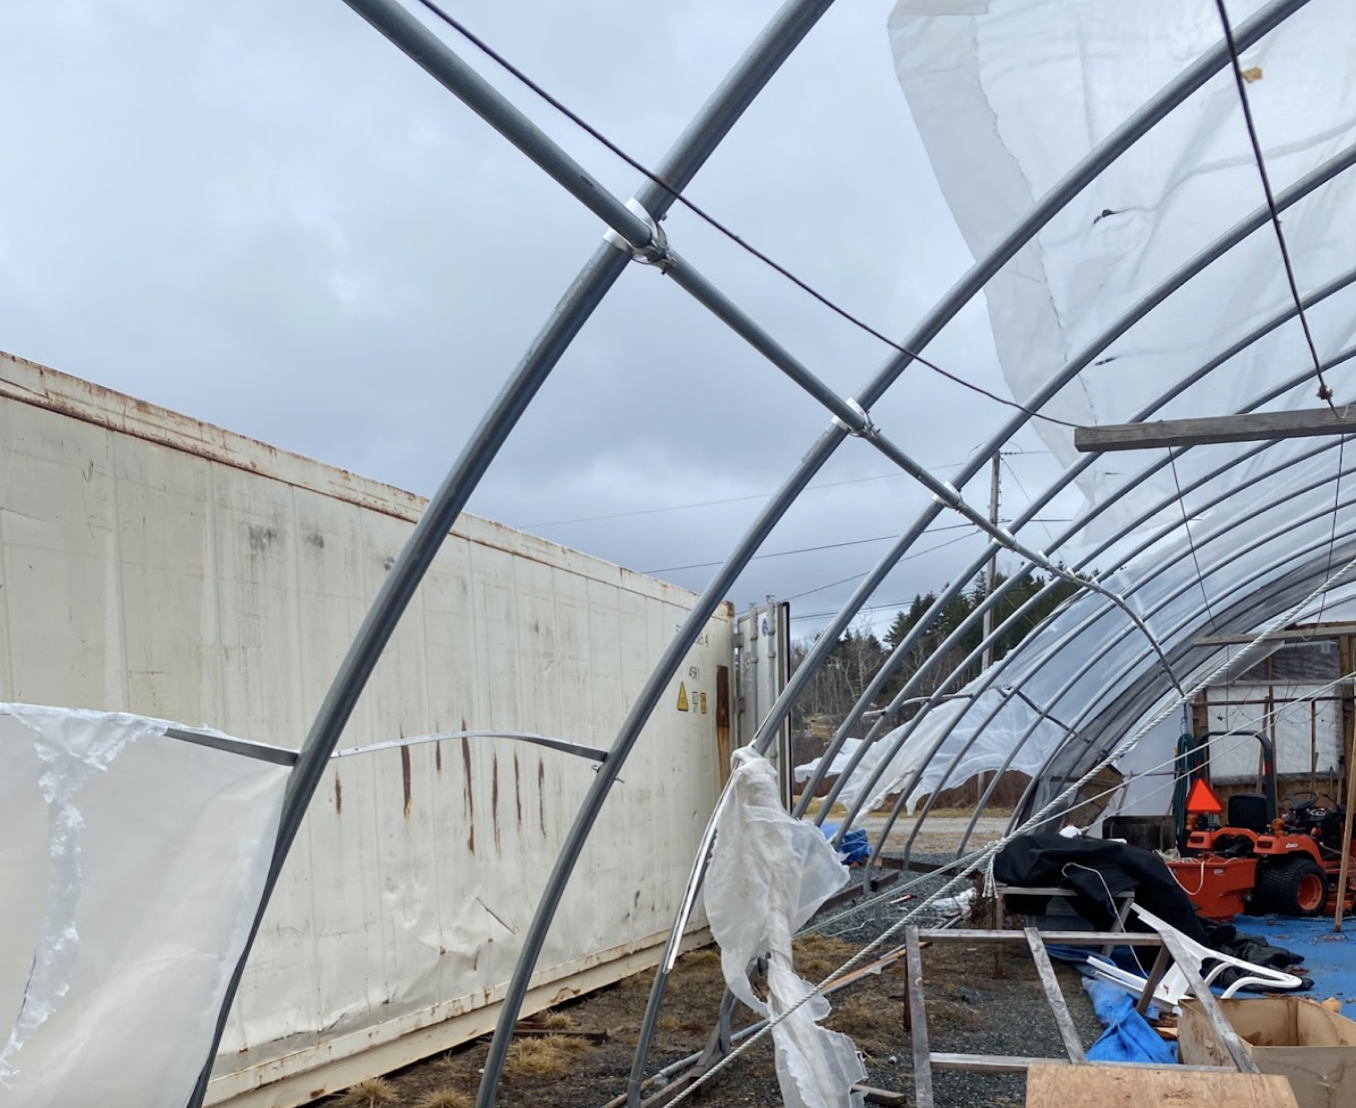
An example of what not to do: The first greenhouse I built was not situated in a protected location, which exposed it to sudden Nor’easters like the one that caused the damage shown here. Always build greenhouses in sheltered areas. (Photo source: Acadia Tucker)
Pick a good spot
Orient your greenhouse so it faces south or southeast to maximize your light, and make sure it’s positioned on the quiet side of a building, fence, or hedge row to help buffer strong winds. We lost a lot of the greenhouse’s plastic sheathing when we failed to do that. I also recommend removing hazards like tree limbs that have the potential to fall and cause damage.
If you’re considering a few possible locations, I recommend taking soil tests at each one. Look for soil that tests high for fertility plus offers a blend of sand, silt, and clay. But don’t fret too much if your tests show low fertility, high clay levels, or sandy soils. All it means is you’ll have to condition the soil over time by using compost and regenerative growing practices, like cover cropping, to help build loose, fertile ground.
Another option, one that’s sometimes easier, is to fill your greenhouse with raised beds. These allow you to start fresh with hand-picked, well-aerated soil. You can purchase bulk compost-based soil from your local nursery or make your own with sheet mulching techniques. Growing in raised beds is handy if your site’s soil conditions are poor or contaminated.
Finally, consider positioning your greenhouse close to water so it’s easier to irrigate. If you’re constructing a propagation house for seeding pots and planters, which need extra care and attention, consider locations close to tools, electricity and storage.

The completed frame of the processing greenhouse. It will need some reinforcement before it’s covered but it’s already standing fairly sturdy on this gravel-graded site. (Photo Source: Acadia Tucker)
Prepare your site
I tend to rush this step because I’m eager to get to the building phase but site preparation is essential and will come back to haunt you if not done right.
First, make the footprint of your greenhouse as level as possible. This can mean bringing in soil to even out, grading the area, or digging deep to level the site. Larger structures may need additional site work, like a permanent foundation of poured cement or stacked cinder blocks, to provide extra support.
We decided to add a leveled base of gravel for our kelp greenhouse. This won’t work if you plan to grow directly in the ground, of course. But our goal was to create a sturdy, mud-free platform that would allow us to process kelp in the summer and store boats and equipment in the winter.
Build the frame
Most greenhouse kits come with a parts list, a required tools list, and instructions. The most versatile greenhouses are made from bent aluminum purlins or rods that you attach with metal screws and bolts to form hoops. Other framing materials can include various metals, woods, or plastics.
In my experience, most instructions take a few read-throughs to allow yourself to visualize the process, so be patient and do your best to follow along step-by-step.
To build an aluminum frame, start by driving the hollow metal footings into the ground at least two feet deep, if not more. The footings anchor the frame and prevent the greenhouse from taking flight once it’s covered with plastic. Space the footings equally along the length of the greenhouse and make them as straight, level, and square as possible. If your greenhouse does not come with footings, I recommend buying a kit of anchors or cement weights to secure the frame once it’s built.
“In my experience, most instructions take a few read-throughs to visualize the process, so be patient and do your best to follow along step-by-step.”
When it’s time to build the frame, set yourself up for success by enlisting the help of a few friends. (Extra people power is not necessary if you choose an itty-bitty greenhouse.) It’s especially nice to have help when raising the metal hoops and attaching bits of frame above your head or from a ladder.
Add extra hardware to shore up the structure once the bulk of the frame is up. We attached long wooden boards to connect the metal hoops for extra stability. Other options include adding additional supports for the roof, like trusses to support the weight of snow. Finally, double-check that all hardware like screws, bolts, and hinges are secure and fully fastened before taping over any sharp bits that could rip the plastic before you start the covering process.
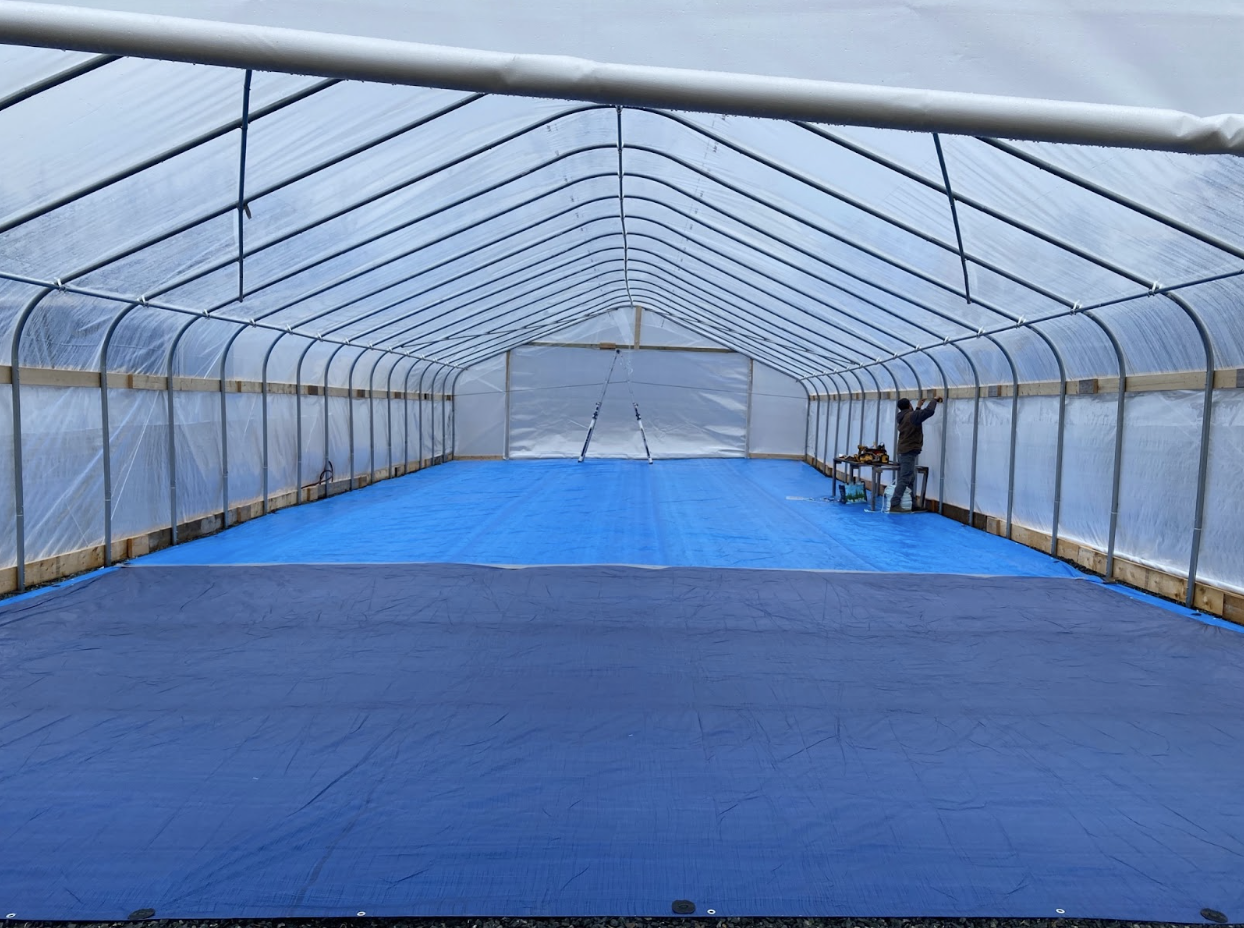
The inside of the newly covered processing greenhouse. Notice the wooden planks added for reinforcement, so the structure will be sturdy, and the frame reinforced during strong winds. (Photo source: Acadia Tucker)
Cover it up
If you go with a soft plastic covering, choose a nice calm day to raise it. Large sheets of plastic are unruly even in slight breezes. The goal is to stretch your cover as tightly as possible over the frame—think saran wrap over a bowl of leftovers.
This part is tricky. I avoid punching holes or creating stretch marks in the plastic by using my forearm (rather than my hands) to apply downward pressure as I wrap the cover over the frame. Here's a helpful video to walk you through the process.
Other materials, like glass or rigid plastic panels, come with their own set of installation instructions. You’ll either need to frame them, like a window in a home, or drill through the material to fasten them to the frame.
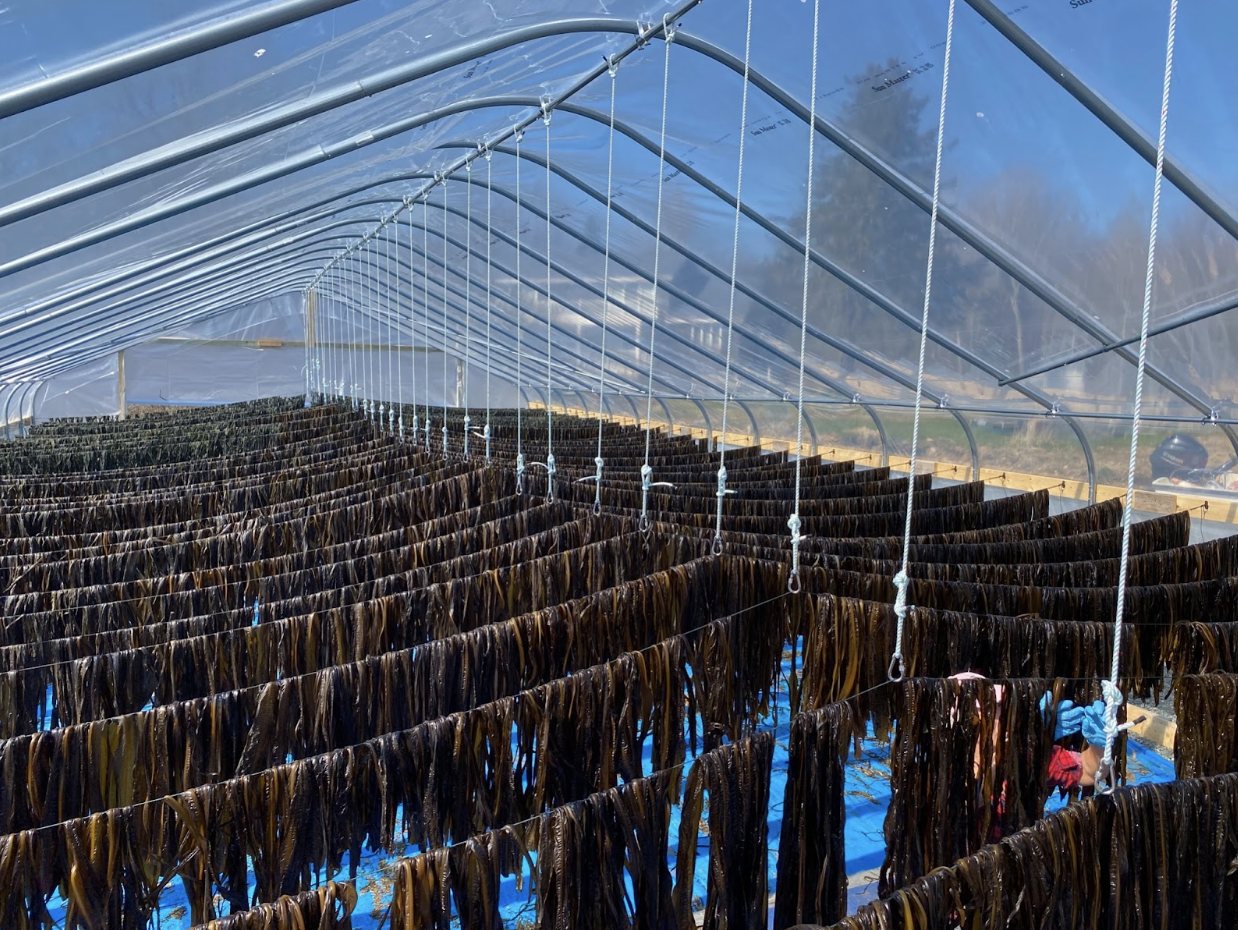
The finished greenhouse is used here to dry kelp. With time, I figured out that laying a tarp on the ground allows for easy clean-up and an efficient transition to the next round of processing. With time, you’ll learn little tricks like this to make your growing process easier.
Trick it out
Greenhouse kits have so many additional accessories it's impossible to mention them all. From temperature-controlled vents to roll-up sides to trellising systems—the list of extras is long. The greenhouse we made is designed explicitly for drying kelp; notice the tarp on the ground for sweeping up between batches with a shop broom. We also installed a custom trellis to support the weight of the drying seaweed. It takes time and experience to know exactly how to customize your dream structure.
What I’ve sketched out here is a general workflow. Things will never go as smoothly or quickly as you wish, so give yourself plenty of time, be patient with yourself and your team members, and keep the end goal in mind: a high-quality, productive greenhouse that will serve your growing purposes for years to come.
Acadia Tucker is a regenerative grower and author based in northern Maine. She’s the author of three books on regenerative gardening, grows food year round, and works with the Organic Materials Review Institute.
VISIT OUR BOOKSTORE